Today, I will be going through foam rolling with you. Foam rolling relieves muscle tension and breaks up the fascia or scar tissue.
It will help alleviate any pain and soreness from tightness after your workouts. It will also help increase your blood flow, circulation, and flexibility.
Foam rolling is super good for you and something you should do regularly, whether you are active or not.
About My Foam Roller
I recommend using the STRONG Premium Foam Roller. I love this roller because it’s got all the lovely little massage knobs on it, but it’s super soft and comfortable, yet durable. And it’s going to get deep into my muscles.
We will do a full-body foam rolling routine. I will run you through about nine movements you can do to start foam rolling your entire body.
Starting with the Calves
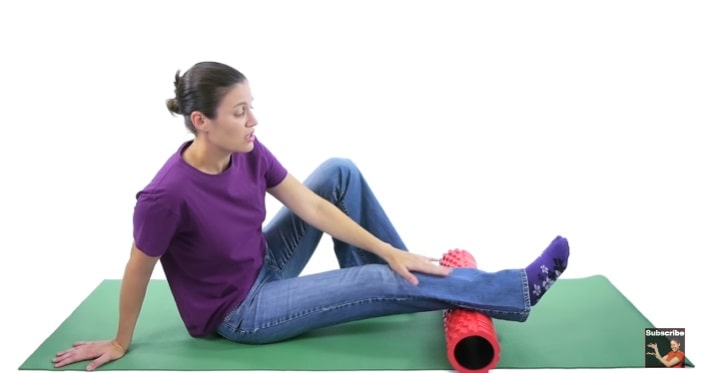
- Calves Rolling: The first place I like to start is my calves. So, setting the foam roller on the ground, I will place my calves on top of the roller and use my hands to push up just gently so that I can push my body forward and backward on my calves. This is a great place to start.
Additional Techniques
- Crossing Calves: If you feel like there’s not enough pressure or it feels good, but you want to get deeper, I like to cross my calves and do one at a time.
- Rolling Side to Side: Also, you can go side to side rolling the calves either way if you’re feeling a little bit of pain or a little bit of what I call a hot spot; it’s tender, or it feels like you don’t want to touch that area; that’s kind of the place you want to stop.
Addressing Sore Spots
- Applying Pressure: You want to use some pressure when you get there. Not too much that it’s so excruciatingly painful, but enough pressure that you can withstand, and you’ll feel eventually your muscle will release.
Shins and IT Bands
- Shins: We are going to go the other way to do them. We will get into a pushup position, put our shins on top, and roll back and forth.
- IT Bands: One of my favorite things to foam roll is the IT bands. This is a place that’s hard to stretch. It’s tough to move and reach, and it’s a place that causes many issues in the hips, lower back and knee joints.
Quadriceps and Hamstrings
- Quadriceps: I like to roll over and get my quadriceps after the IT bands.
- Hamstrings: After the quadriceps, we want to flip over and get our hamstrings.
Hips and Glutes
- Hips and Glutes: After the hamstrings, we want to focus on getting the hips and the glutes.
Back and Lats
- Back Rolling: One of my favorite things that I like to do is roll out my back.
- Lats Rolling: When you’re ready, you can raise one arm, rotate to the side a little bit, and roll those lats out.
Triceps and Neck
- Triceps: The triceps are like the IT bands of your arms.
- Neck: Last but not least, I will throw in the neck.
Conclusion and Tips
I hope you enjoyed this article and got a lot out of it. You don’t have to do your whole body at once.
You can start with the lower body one day and the upper body the next day.
I highly recommend splitting it up. If it’s your first time doing the foam roller, you might get sore, and if you do, it’s okay.
Feel free to take a day off. Ensure you drink lots of water because you’re breaking up that scar tissue.
You’re going to be releasing a lot of toxins. You will improve your flexibility and circulation, but you need to ensure you hydrate and get adequate rest.
So, thank you so much for joining me here on this article. I hope you enjoyed it and have fun with your STRONG Foam Roller.
Born and raised in Bozeman, Montana, he graduated from George State University with an MBA in Actuarial Science. His hobbies include beach volleyball, hiking, fishing, and lifting weights
George is also a certified nutritionist with a passion for health and fitness.
- Empowering Transactions: Navigating Firearms Sales with Proper Documentation - April 8, 2024
- Army PRT – Preparation and Recovery 2024 - March 18, 2024
- Active and Reserve Components 2024 - March 6, 2024